
The <button> tag in HTML is used to create clickable buttons on a web page. These buttons can perform different actions such as submitting a form, resetting input fields, or triggering JavaScript functions.
Buttons are a key part of user interaction on websites. Whether it’s a “Submit” button on a form, a “Buy Now” button on an e-commerce site, or a “Click Me” button that runs a script, the <button> tag is what makes these actions possible.
In this guide, you’ll learn everything about the <button> tag in a simple and clear way, including syntax, types, attributes, styling, examples, and best practices.
Basic Syntax of <button>
Here is the simplest way to use the <button> tag:
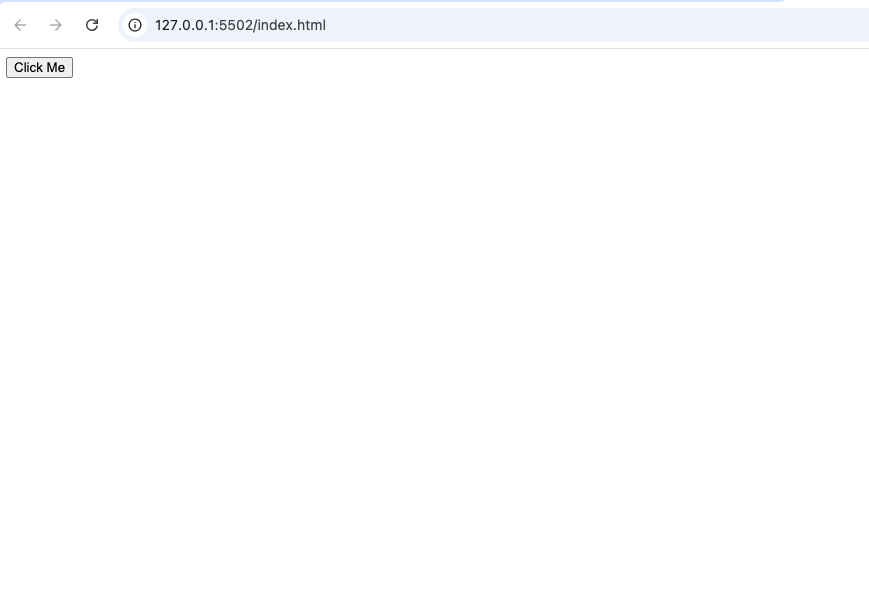
<button>Click Me</button>This creates a basic clickable button with the text “Click Me”.
How the <button> Tag Works
The <button> tag creates an interactive element that users can click. Unlike some other HTML elements, it has both an opening and a closing tag:
<button>Text Here</button>The text inside the tag is what appears on the button.
Types of <button>
The <button> tag has a type attribute that defines what the button does.
1. Submit Button
<button type="submit">Submit</button>- Sends form data to the server
- Used inside forms
2. Reset Button
<button type="reset">Reset</button>
- Clears all form inputs
- Resets fields to default values
3. Button (Default Action)
<button type="button">Click Me</button>Does Nothing By Default
Usually Used By Javascript
Using <button> Inside a Form
Example:
<form>
  <label>Name:</label><br>
  <input type="text" name="name"><br><br>

  <button type="submit">Submit</button>
</form>
When the user clicks the button, the form is submitted.
Adding JavaScript to a Button
You can make buttons interactive using JavaScript.
Example:
<button onclick="showMessage()">Click Me</button>

<script>
function showMessage() {
  alert("Button clicked!");
}
</script>
This shows a message when the button is clicked.
Important Attributes of <button>
1. type
Defines the button behavior.
<button type="submit">Submit</button>2. disabled
Disables the button.
<button disabled>Disabled</button>3. name and value
Used in forms.
<button name="action" value="save">Save</button>4. autofocus
Automatically focuses the button when the page loads.
<button autofocus>Start</button>Styling the <button> with CSS
By default, buttons look plain. You can style them using CSS.
Example:
<style>
button {
  background-color: blue;
  color: white;
  padding: 10px 20px;
  border: none;
  border-radius: 5px;
  font-size: 16px;
  cursor: pointer;
}

button:hover {
  background-color: darkblue;
}
</style>

<button>Styled Button</button>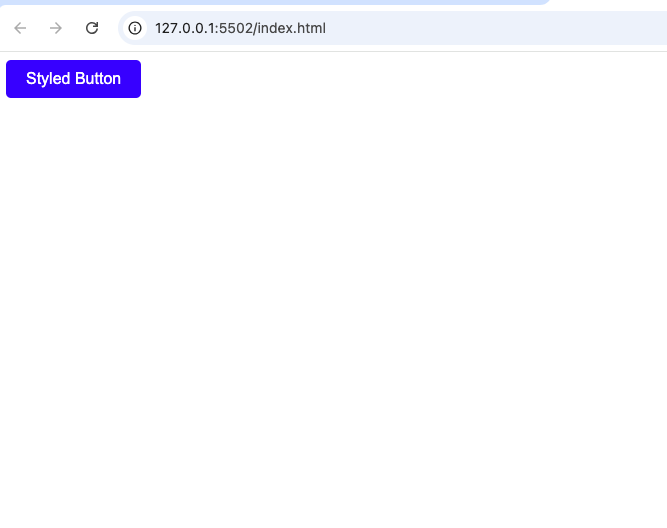
Adding Icons Inside a Button
You can add icons or images inside a button.
Example:
<button>
  <img src="icon.png" alt="icon" width="16"> Download
</button>
<button> vs <input type="button">
| Feature | <button> | <input type="button"> |
|---|---|---|
| Content | Can contain HTML | Text only |
| Flexibility | High | Limited |
| Closing tag | Yes | No |
Example:
<button><strong>Click Me</strong></button>
<input type="button" value="Click Me">
Real-World Example
<!DOCTYPE html>
<html>
<head>
  <title>Button Example</title>
</head>
<body>

<h2>Simple Form</h2>

<form>
  <input type="text" placeholder="Enter name"><br><br>
  <button type="submit">Submit</button>
  <button type="reset">Reset</button>
</form>

</body>
</html>
Accessibility Tips
To make your buttons user-friendly:
- Use clear text like “Submit” or “Download”
- Avoid vague labels like “Click”
- Add
aria-labelif needed - Ensure good contrast for readability
Example:
<button aria-label="Submit Form">Submit</button>Common Use Cases
- Form submission
- Resetting forms
- Triggering JavaScript actions
- Navigation buttons
- Modal popups
- Game controls
Advanced Example
<button
  type="button"
  onclick="alert('Hello!')"
  style="background: green; color: white; padding: 10px;">
  Click Me
</button>
Common Mistakes to Avoid
1. Forgetting type
If you don’t specify type, the default is submit.
<!-- This may submit form unintentionally -->
<button>Click</button>
Always define the type:
<button type="button">Click</button>
Always define the type:
<button type="button">Click</button>
Using Button Without Function
<button>Click Me</button>Without type or JavaScript, it may not do anything useful.
3. Poor Labeling
Avoid unclear text:
❌ “Press”
✅ “Submit Form”
Browser Support
The <button> tag is supported in all modern browsers:
- Chrome
- Firefox
- Safari
- Edge
Why <button> is Important
Buttons are essential for interaction. Without them, users wouldn’t be able to:
- Submit forms
- Trigger actions
- Navigate interfaces
They are a core part of user experience design.
Best Practices
- Always specify
type - Keep button text clear
- Use consistent styling
- Add hover effects
- Make buttons accessible
- Avoid overusing buttons
<button> vs <a> Tag
Sometimes developers confuse buttons with links.
- Use
<button>for actions - Use
<a>for navigation
Example:
<a href="page.html">Go to Page</a>
<button onclick="submitForm()">Submit</button>
JavaScript Event Examples
<button id="btn">Click</button>

<script>
document.getElementById("btn").addEventListener("click", function() {
  alert("Hello!");
});
</script>
Creating a Toggle Button
<button onclick="toggleText()">Toggle</button>

<p id="text">Hello World</p>

<script>
function toggleText() {
  let text = document.getElementById("text");
  text.style.display = text.style.display === "none" ? "block" : "none";
}
</script>
The <button> tag in HTML is one of the most important elements for creating interactive web pages. It allows users to perform actions like submitting forms, triggering scripts, and navigating interfaces.
To summarize:
- It creates clickable buttons
- Supports different types (
submit,reset,button) - Works with forms and JavaScript
- Can be styled with CSS
- Offers flexibility compared to
<input>
By mastering the <button> tag, you can build more interactive, user-friendly, and functional websites.